How to Modify a Maglite
 Before we go any further, let's do a quick sanity check.
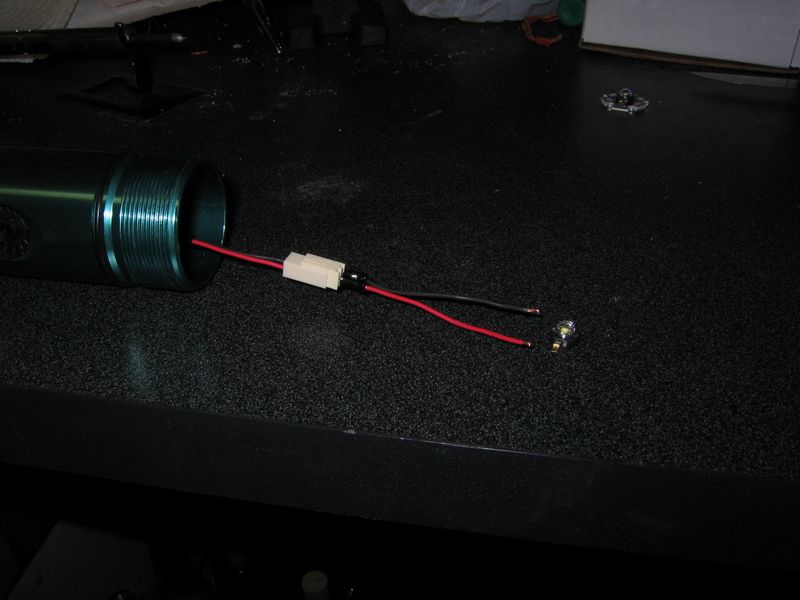
Load up your flashlight with batteries, and hook the wires together. |
 You're going to turn the switch on, and then touch the red wire to the + pad, and the black wire to the - pad.
|
 If you've done everything right so far, you should get LIGHT.
Be careful not to look at it for too long. It's REALLY BRIGHT. |
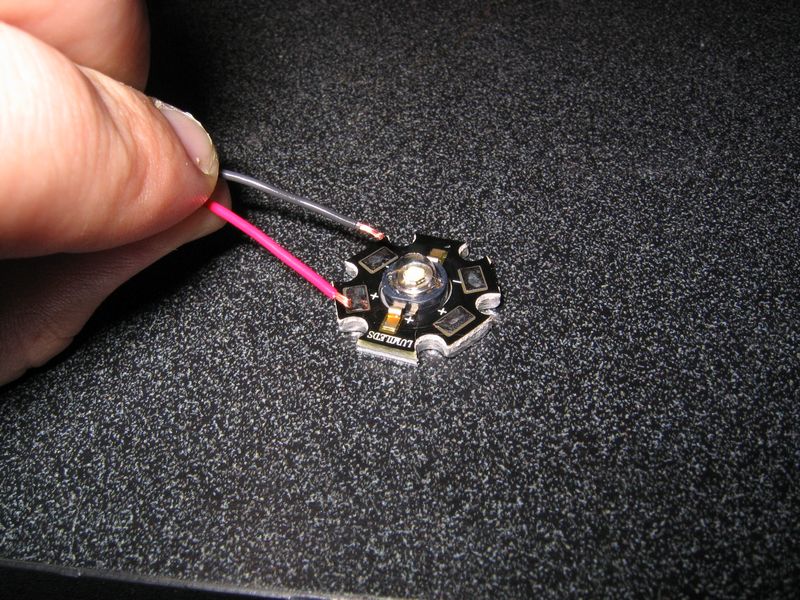
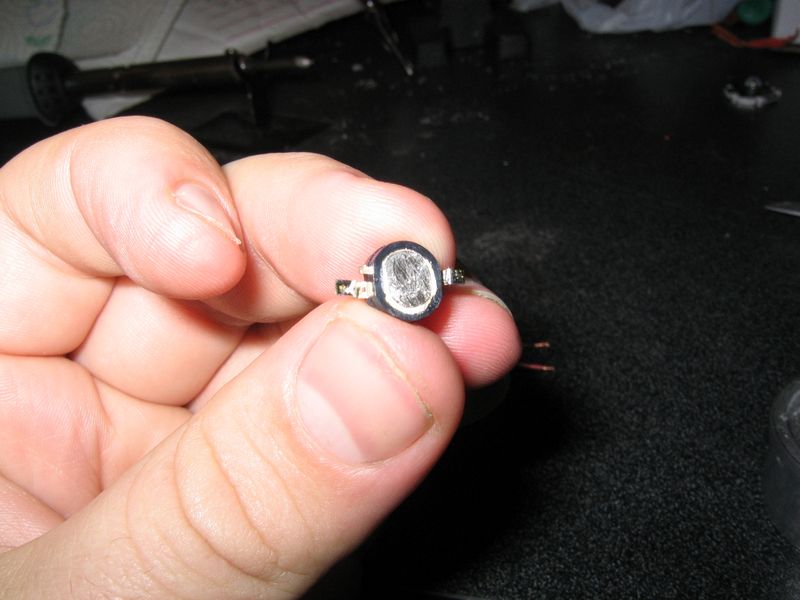
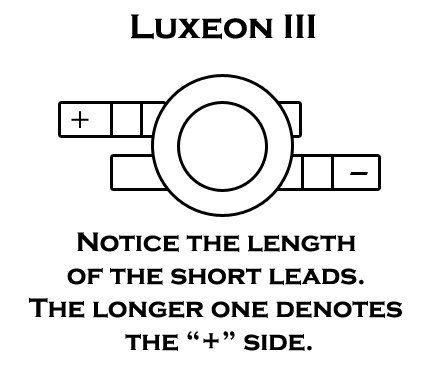
 Well, that worked, so now we just need to get that emitter off the pcb..
(if you have a Luxeon Star, that is. If you have a bare emitter, you can skip this part) If you forget which lead is positive and which is negative, you can check this diagram that I made. |
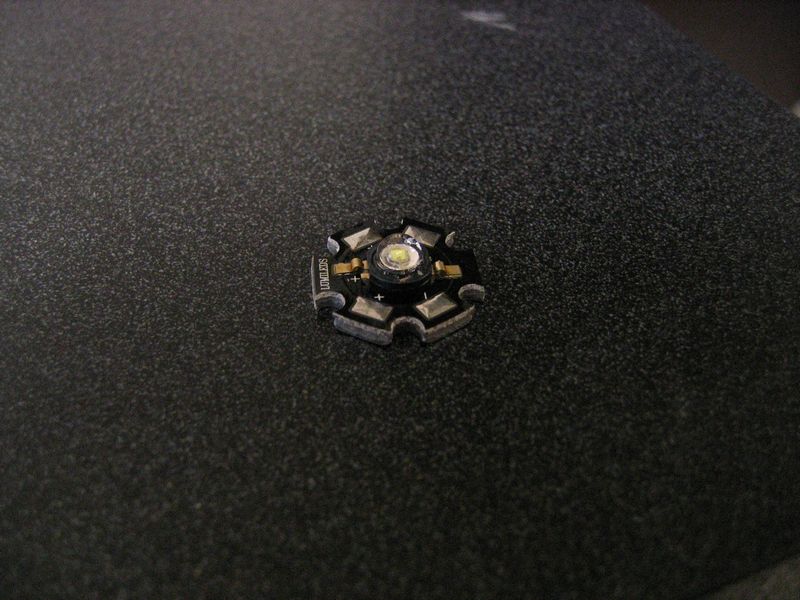
 Now to get the Lux off the star, we're going to have to do a little de-soldering and get a little physical.
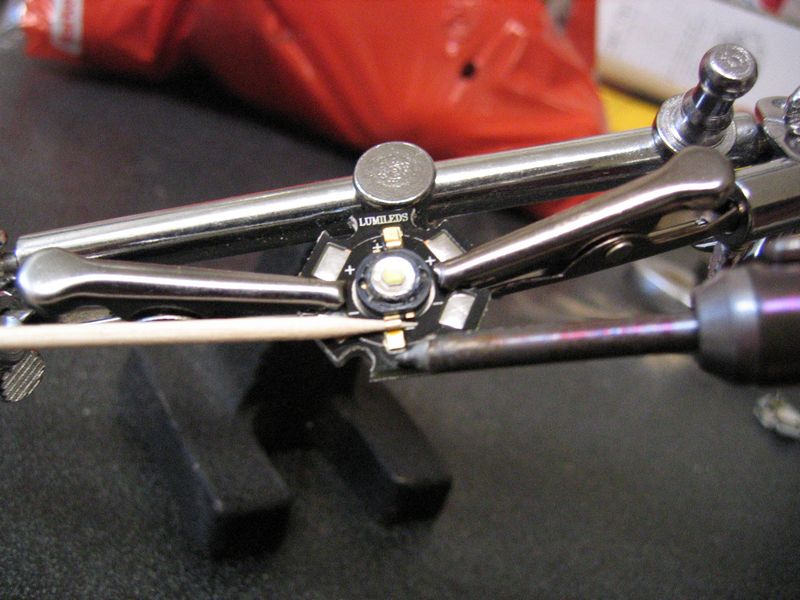
I can't stress enough how careful you need to be when you're using a soldering iron near or on your LED. if you slip and touch the plastic bubble, you'll melt it and it'll be ruined. Also, if you get the leads too hot, you could damage it that way. One last thing, the leads are pretty flimsy. Don't bend them too far or too much, as they could break off, and you wouldn't want that. So, now that you're nervous and shaking, take a toothpick and slide it under the bend in one of the leads. |
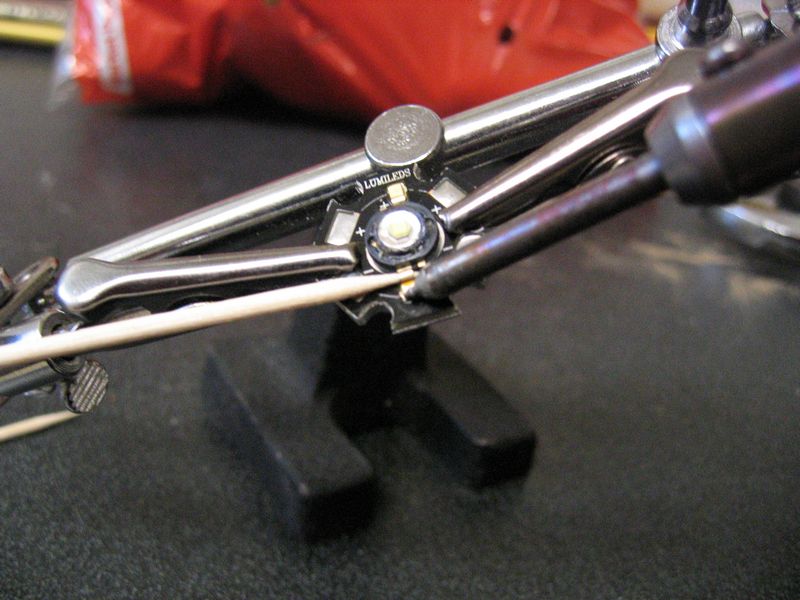 You are going to very gently push down on the end of the toothpick, while touching the soldering iron to the end of the lead.
Pushing down on the end of the toothpick will cause the other end to press up against the lead, forcing it away from the pcb. (That's called a lever). When the solder melts, the lead will spring up and that side will be free. Now do the other side the same way. |
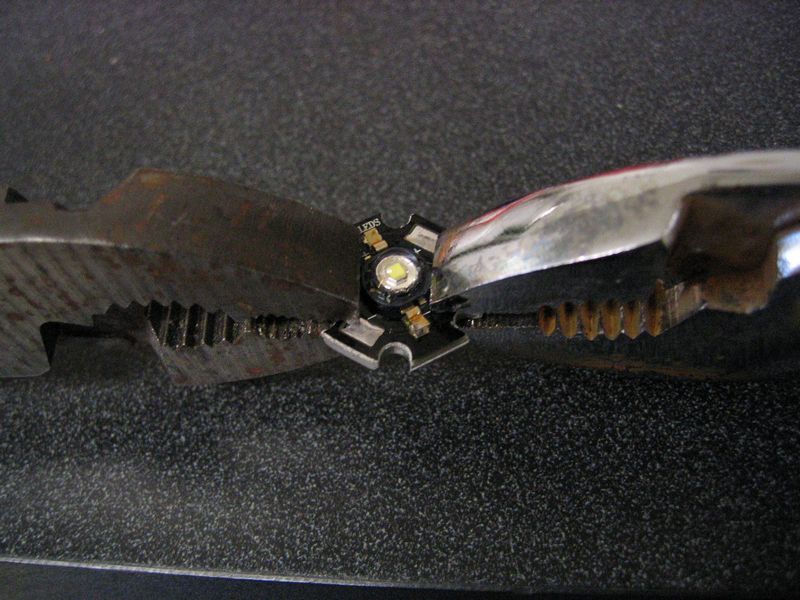 Now get your two pairs of pliars and grab the pcb as shown, being careful not to grasp the leads.
You want two opposite notches in the pcb to be between the pliars like in the picture. Now, pry downward, bending the pcb. |
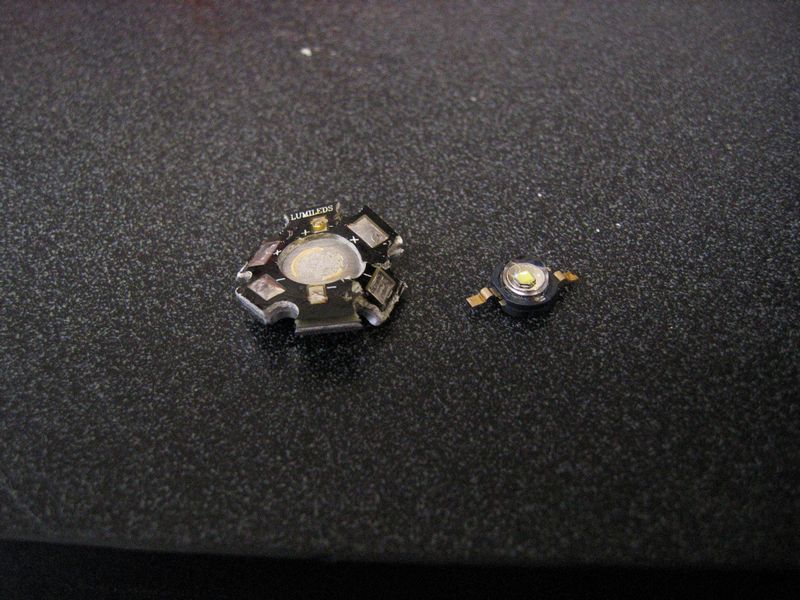 The Emitter should pop off unharmed, leaving you with a mangled pcb.
|
 Now, very lightly sand any remaining glue off the bottom of the emitter, being careful not to sand off the metal.
I think I just scratched it off with a knife on my second magmod. |
| <-- Back 1, 2, 3, 4, 5, 6, 7 Continue --> |