How to Modify a Maglite
 While you're soldering, go ahead and solder the short wires to the male side of the connector. Make sure you get the wires on the correct pins.. Plug it together if you have to.
|
 And the other one...
|
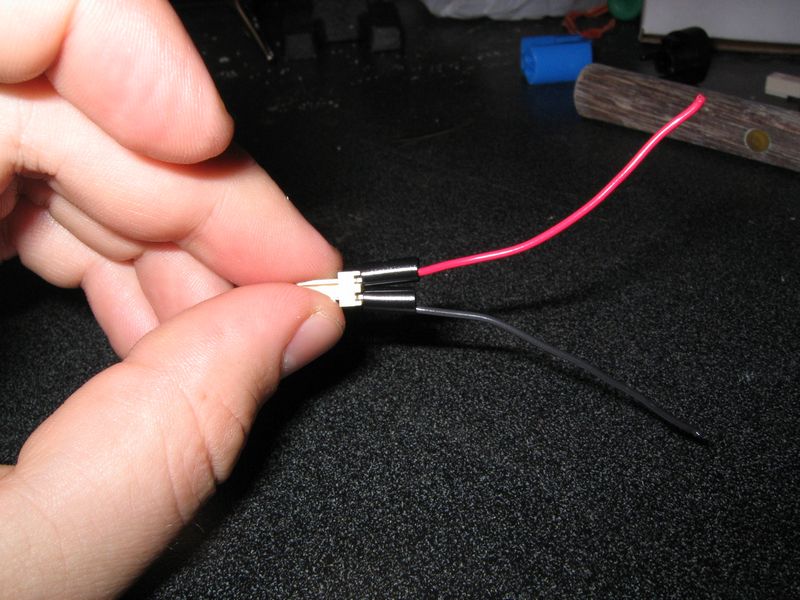 Now, slide two small pieces of heat shrink tubing over the solder joints and shrink them down. Make sure you cover any exposed metal, as you don't want a short right here.
|
 Ok, you're done soldering for a little while, so let's go back to this piece. We're going to insert it into the rest of the switch assembly.
|
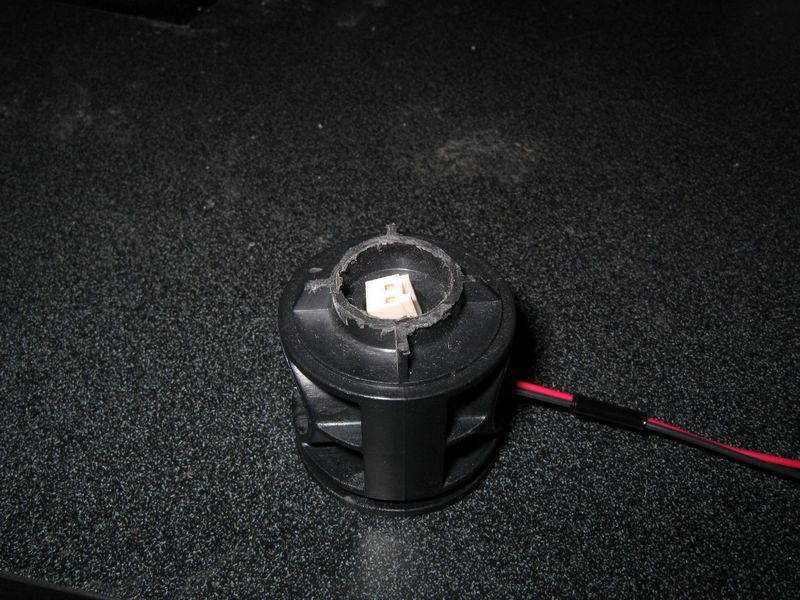 So find that piece you cut before and take the switch back apart. (Trust me, it's much easier this way)
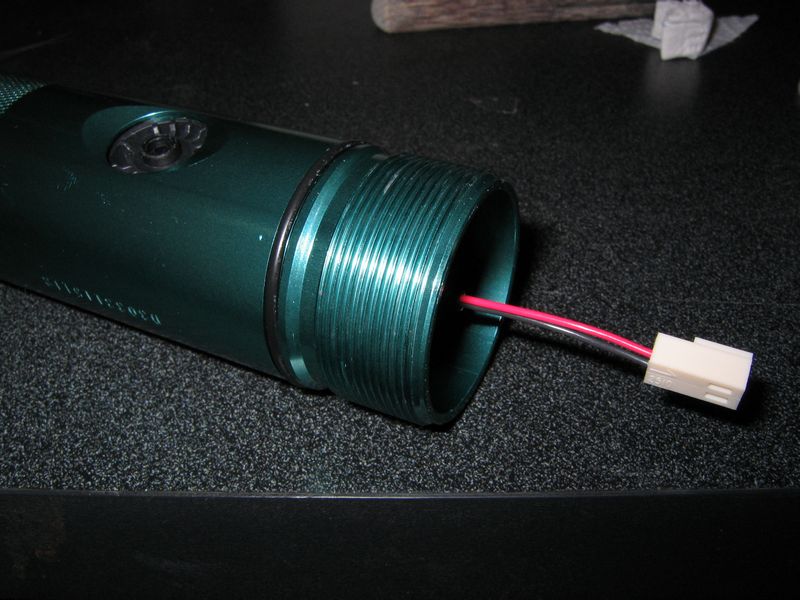
Now, slide the connector throught the hole. It should *just* fit. |
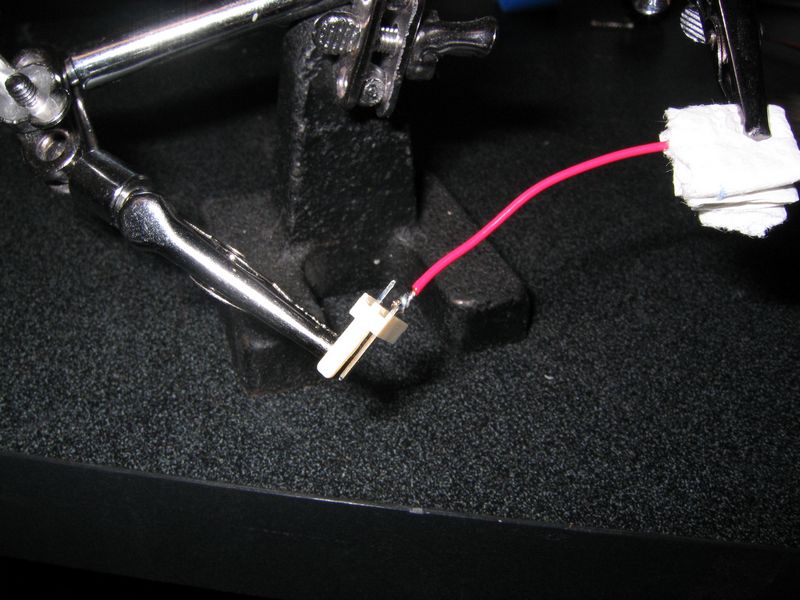
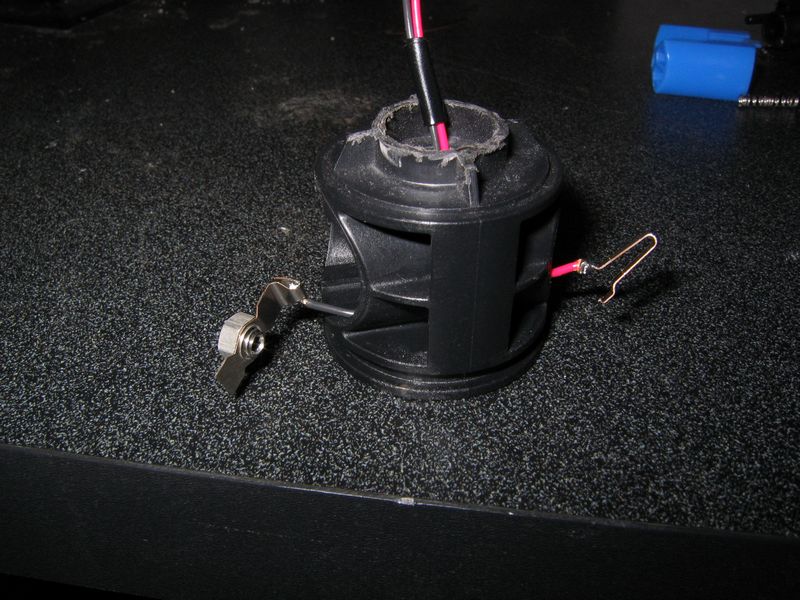 Pull the wire up, and when you can, push the negative side through to the other side so that it looks like the picture.
|
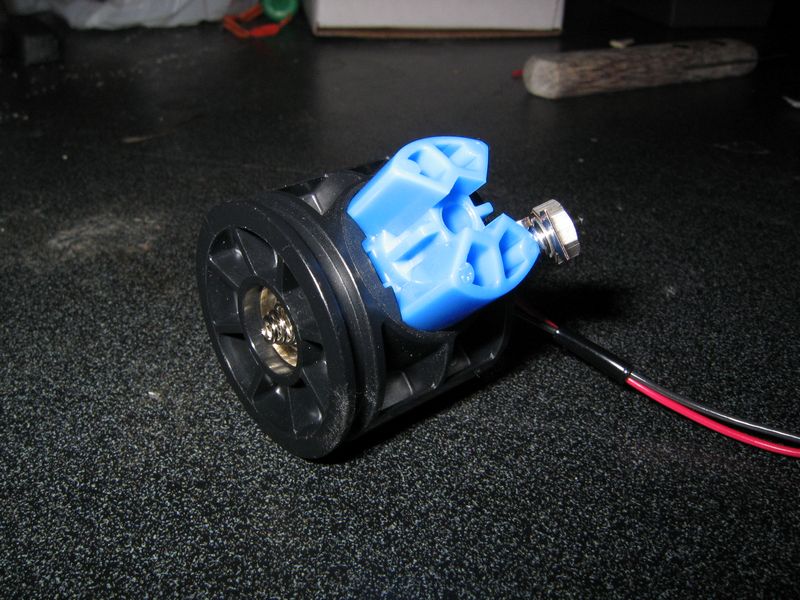 Now, slide the blue piece in the negative side of the hole, and slide the black piece in the positive side, making sure to get the switch put back together correctly.
By now, you've done it a few times, so you should know what's up. (See, I did have a reason for doing it so many times) Make sure you keep out the slack by pulling the wire out the top of the switch assembly. |
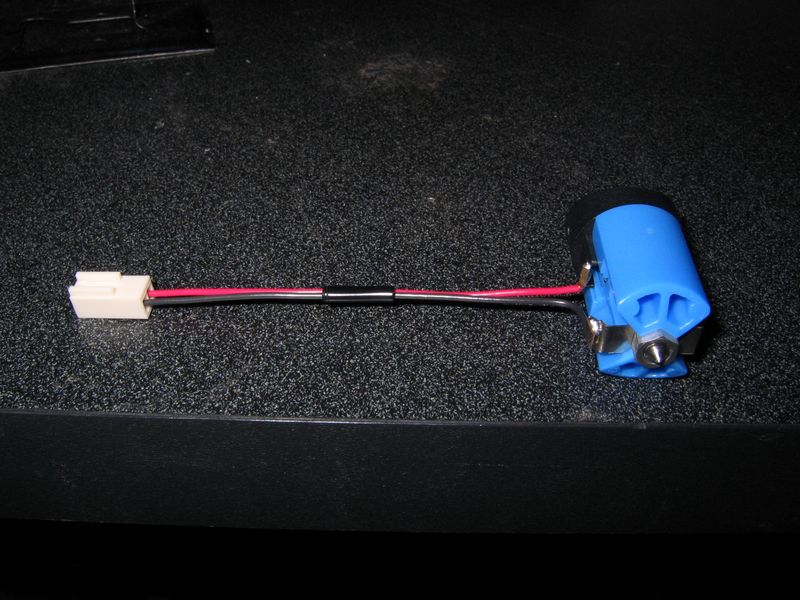
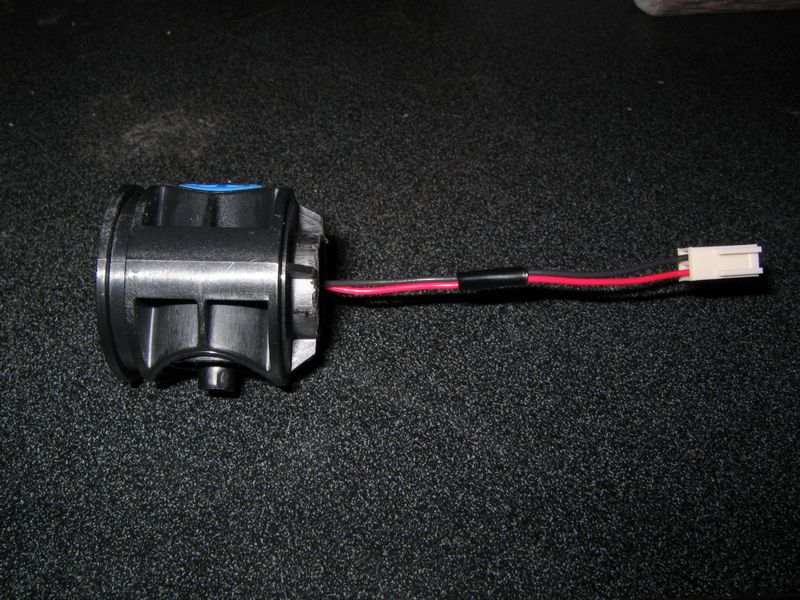 This is what this piece will look like when you're done.
|
 Before you put it into your mag body, do a test fit of your hotlips. if it's way to tight or just a hair too big (usually only with the black bodies), use some sandpaper and sand down the inside of the maglight body where the hotlips touches until it fits.
Once done, you can slide the switch assembly back in, and screw it in. |
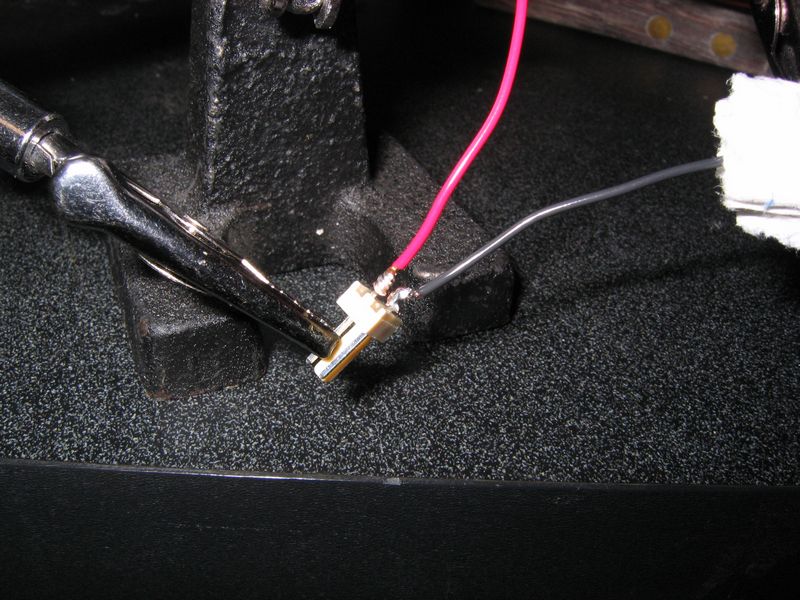
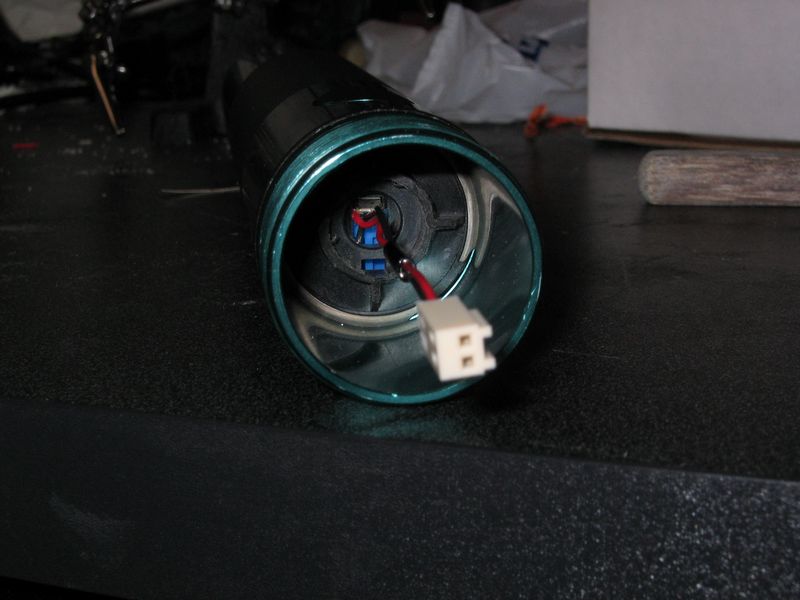 A different view.
|
| <-- Back 1, 2, 3, 4, 5, 6, 7 Continue --> |