How to Modify a Maglite
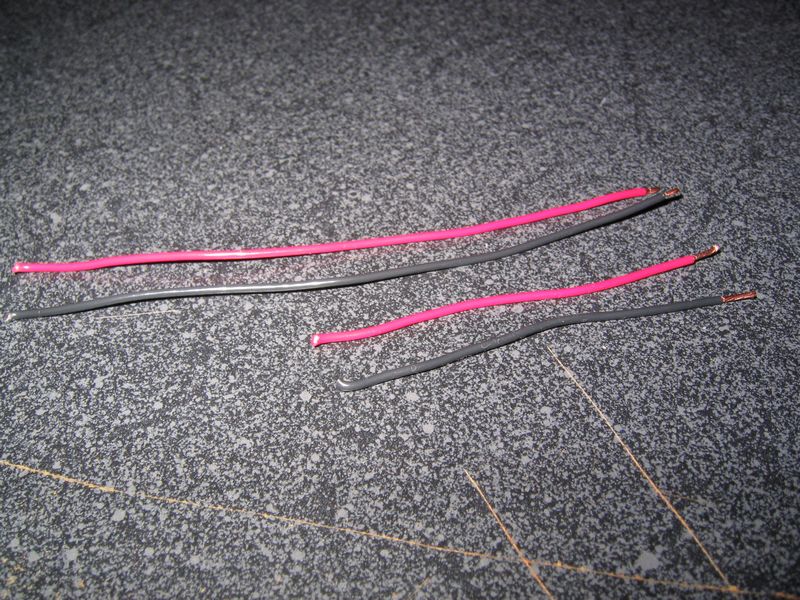 Cut some tiny gauge wire to the lengths shown in the picture. (I think the short pieces are about 3", and the longs maybe 5")
If you're using a hotlips (which I recommend), make sure the wires fit through the holes in the hotlips. |
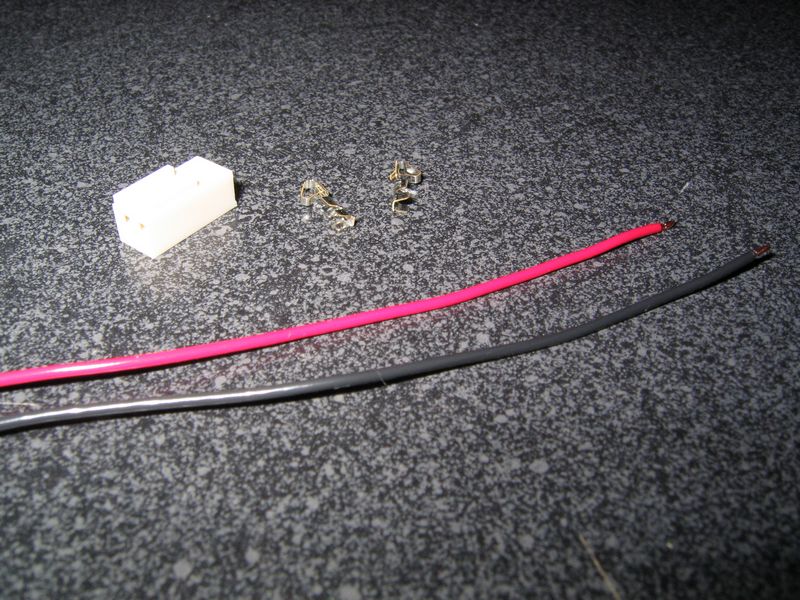 Now, you're going to use the long wires with the female connector. So here's all the pieces you'll be using here. You won't need to strip much off the ends of the wires, just enough to work with the pins.
|
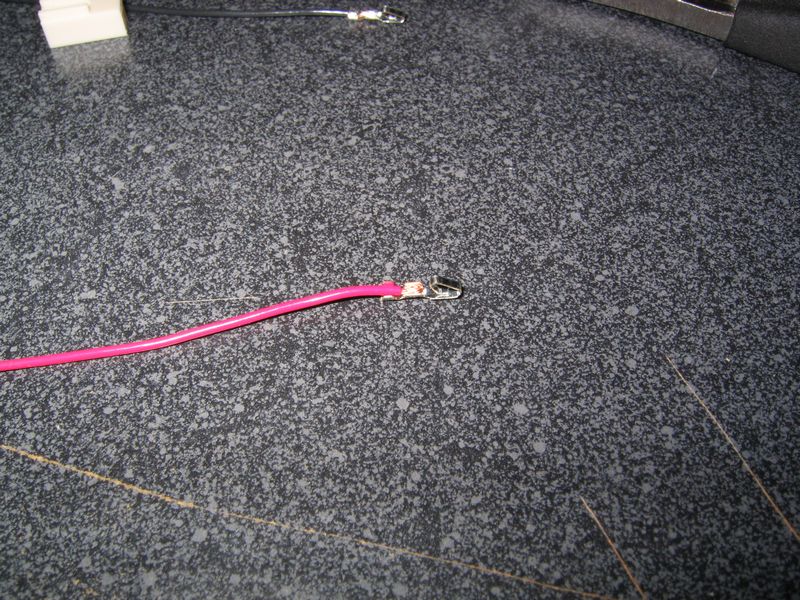 This is how it should look before you crimp it. Notice how little it is stripped.
|
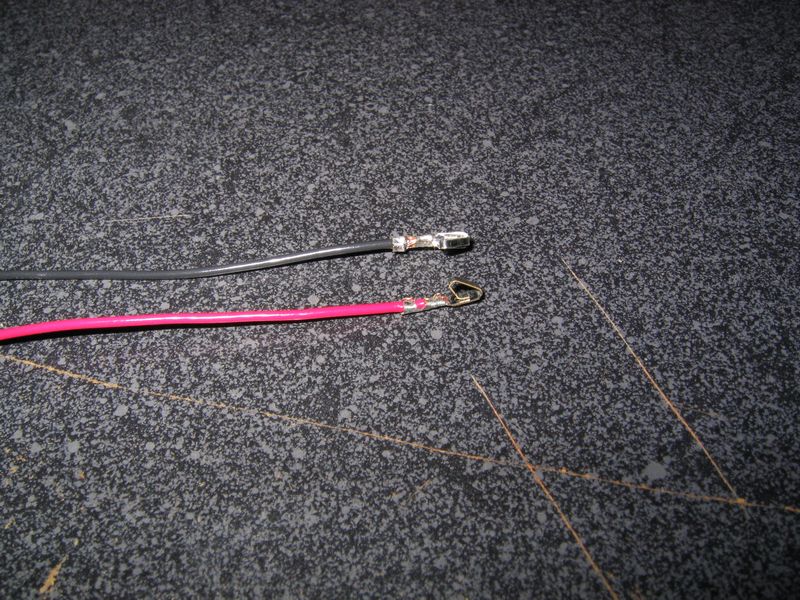 Now crimp it. A wire crimper makes this really easy, but if you're patient, careful, and too cheap to buy one, you can do it with some pliars and a knife like I did.
|
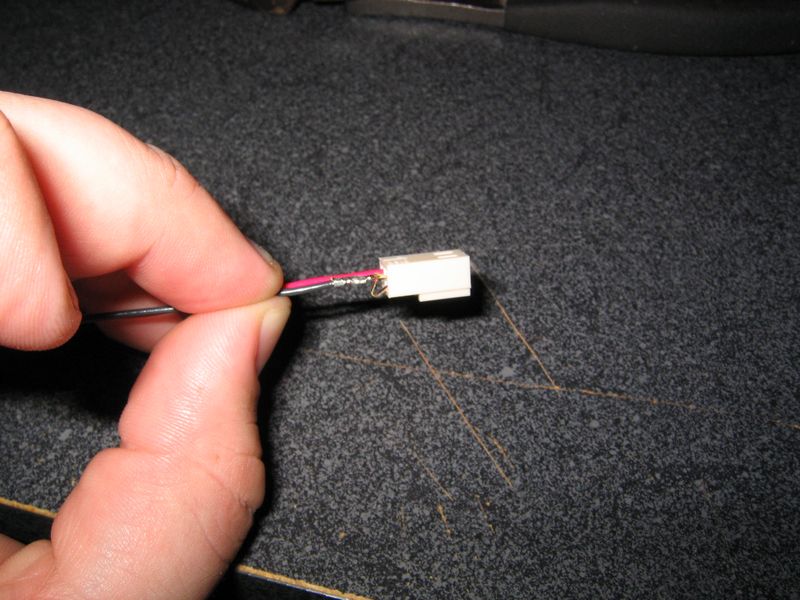 Now push the wires into the connector until they lock in.
Red is positive, and Black is Negative. The positive pin is usually denoted with a little arrow or triangle on the connector. For a nice touch, slide a small piece (.5") of heat shrink tubing onto the wires at this time. Don't shrink it yet, we'll do that later. |
 Now that I've gotten you to take apart your switch, put it back together.
You're going to need to bend your wires and trim them so that they look like the ones in the picture. |
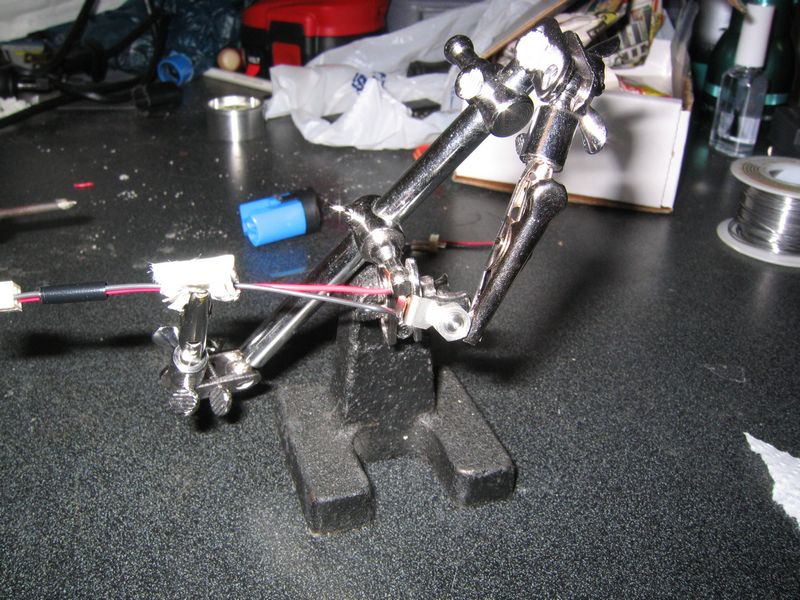 It's finally time to do some soldering! I know you've been waiting for this.
One at a time, carefully solder the wires to the metal contacts, making sure they are aligned correctly. Helping Hands are practically a must. |
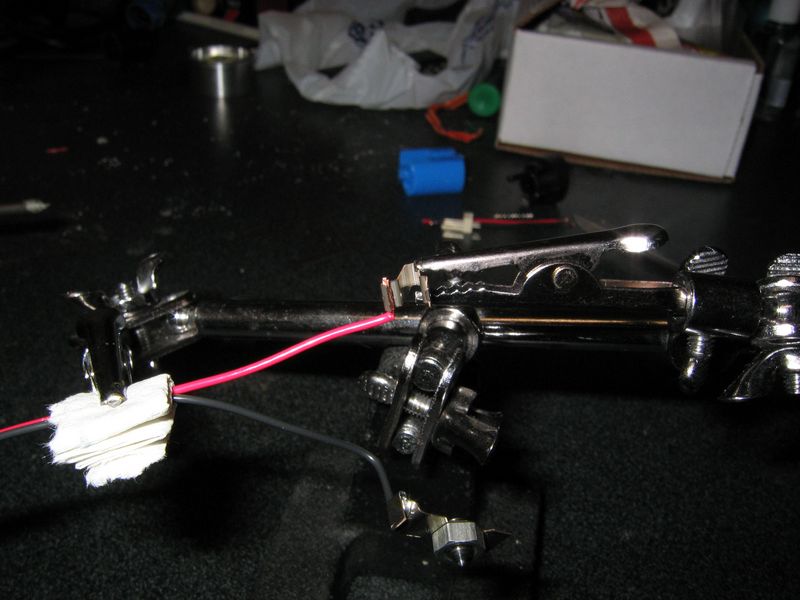 Now do the other one.. I've folded up a paper towel around the wire to protect it from the alligator clips of the helping hands.
|
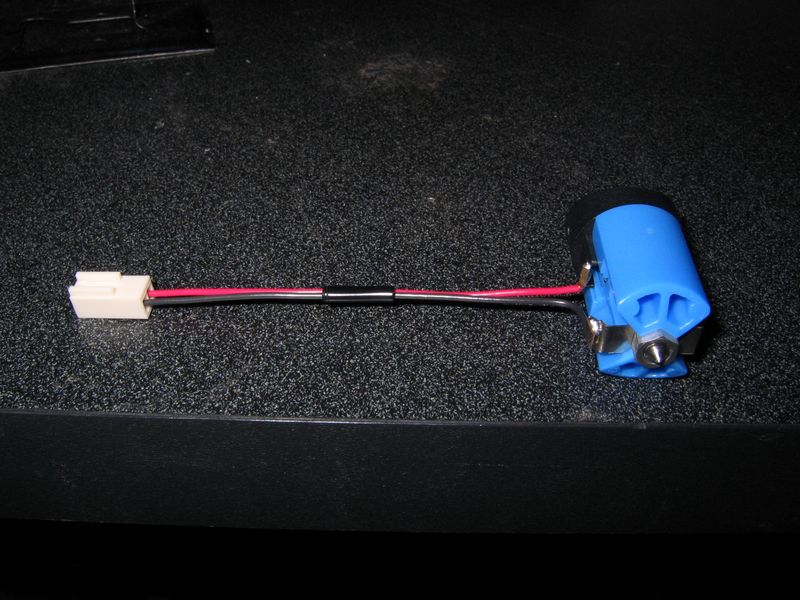 Here's what this piece looks like when you've finished and put it back together. Shrink down the heat shrink tubing with a heat source. If you're using a lighter, be careful not to melt it. Just shrink it.
|
| <-- Back 1, 2, 3, 4, 5, 6, 7 Continue --> |