How to Carve a Pumpkin
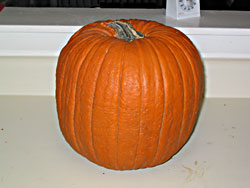 First, select a nice sized, well rounded pumpkin.
It should be able to sit upright without rolling all over the place. |
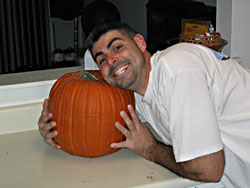 Before you start, it's a good idea to spend some time bonding with your pumpkin and getting to know each other.
You are about to spend at least an hour carving into your pumpkin's flesh, so this will help keep your pumpkin unaware as to what is about to happen to it. |
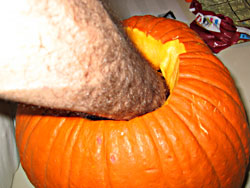
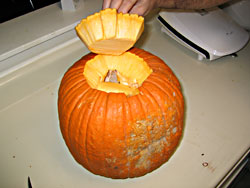 Now, while your pumpkin isn't looking, carve out a hole on top for your lid.
You should angle your cut at about a 45° angle so that the lid won't fall into the pumpkin later. We also cut a notch so that it would be easier to line up the lid, and to let out smoke and heat so the pumpkin would last longer. As you can see, our pumpkin has a bit of a blemish on it's back side, and we were very careful not to mention anything about it, since it was very sensitive about it. |
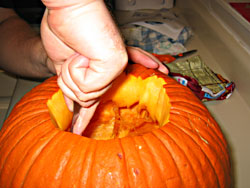
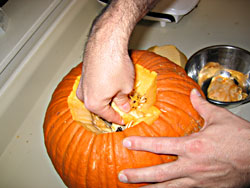 This is where it starts getting messy. You've got to reach inside your pumpkin and start pulling out all its guts.
Get all the seeds and stringy stuff out of there. |
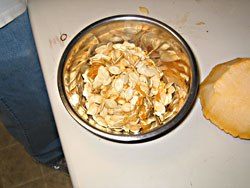 You can set your seeds aside if you want to roast them or just use them for something else later.
We roasted ours. More on that later. |
 Shawn's getting his whole arm in there.
|
 After you've gotten out everything you can by hand, start scraping the inside walls with a spoon to get any remaining stringy stuff.
Also, on the front wall, scrape away some of the pumpkin flesh, so that it's only about an inch think. This will make your light show through better and make carving easier. I didn't do this because my hand was getting cramped. |
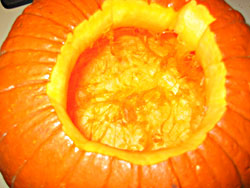 This is an interior view of our pumpkin mostly cleaned out.
|
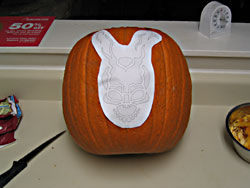 Now comes the fun part. Oh wait.. this was all supposed to be fun.. wasn't it?
Tape your pattern onto the pumpkin and poke little holes along the lines so that when you take off the paper pattern, you'll be able to connect-the-dots on the pumpkin. Our pattern is of Frank, the Rabbit from the movie Donnie Darko. |
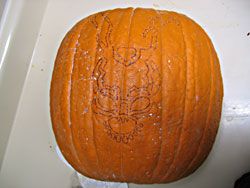 Now that your pumpkin is full of little holes, connect the dots to recreate your pattern on the pumpkin itself.
If you can't see the holes very well, it may help to rub some flour on them. This will make them show up as little white dots. |
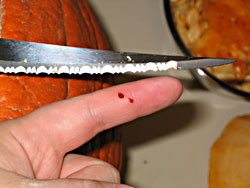 Once all that is done, you're ready to start carving your pumpkin...
Hey! I said carve your PUMPKIN, not your finger. A word of advice: DON'T use a sharp kitchen knife. For one thing, it's sharp, but more importantly, it's too big. You'll never be able to carve small details with that huge knife. At this point we took a break for obvious reasons.. We needed to go buy some candles. |
|
To be continued in Part 2 |