How to Carve a Pumpkin (Part 2)
 Well, we got back from the store and I just wanted to reiterate:
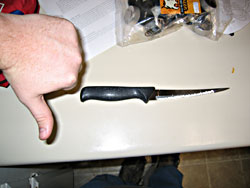
Sharp knives are BAD. For carving pumpkins. |
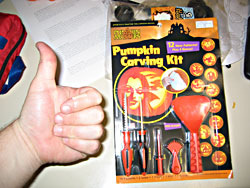 This pumpkin carving kit, however, is awesome!
And it only cost $3. While we were at Target getting the carving kit, we also got a bag full of those little candles. I also got some chicken and rice burritos. They're tasty. |
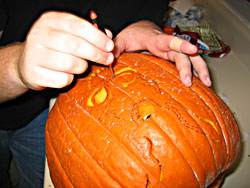 Now that you have the proper tools, you can begin carving your pumpkin.
Even though I told my injured finger that the pumpkin carving kit carving tool was completely safe, it still tried to stay as far away from it as it could. |
 Here's our pumpkin with the candles in it.
|
 And here's the finished pumpkin outside in front of our apartment.
Larry bet it would be smashed within 3 hours, but it has survived a whole 5 days so far. Unfortunately, the weather has been unnaturally hot these last few days and it is rapidly starting to mold and decompose. |
 This is a picture I took when it was really dark outside so that all you could see was Frank.
Scary, isn't he? |
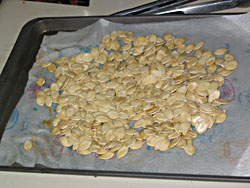 Now, back to those pumpkin seeds.
I had actually never tried roasted pumpkin seeds before, but Shawn was all about some pumpkin seeds, so I decided to try it. First we washed the seeds to get all the orange junk off of them, then we kinda dried them out on some paper towels. That actually didn't work all that well. |
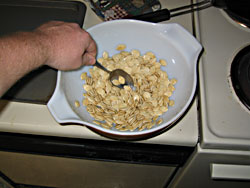 We didn't have any butter (only that Country Crock spread stuff), so I mixed up some vegetable oil and salt and the dumped the seeds into that and stirred it up until they were well coated.
|
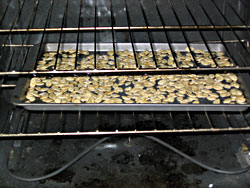 I spread them out on a pan and roasted them at 350 for about 20 minutes, turning them every once in awhile until they were golden brown.
I tried them, and while they tasted ok, I didn't like how the shell became dry and powdery in my mouth when I chewed them up. Shawn seemed to really like them though. |